Take a butternut squash and cut the neck off. Keep the bottom in your fridge for later. Then clean the neck by peeling away the skin.
Slice it in thin slices on a mandolin. They need to be around 2 millimetres thin, do be very careful when using a mandolin, it’s very sharp!
Place the slices in stacks on your cutting board and cut those to the desired size. The trimmings you can keep aside as well.
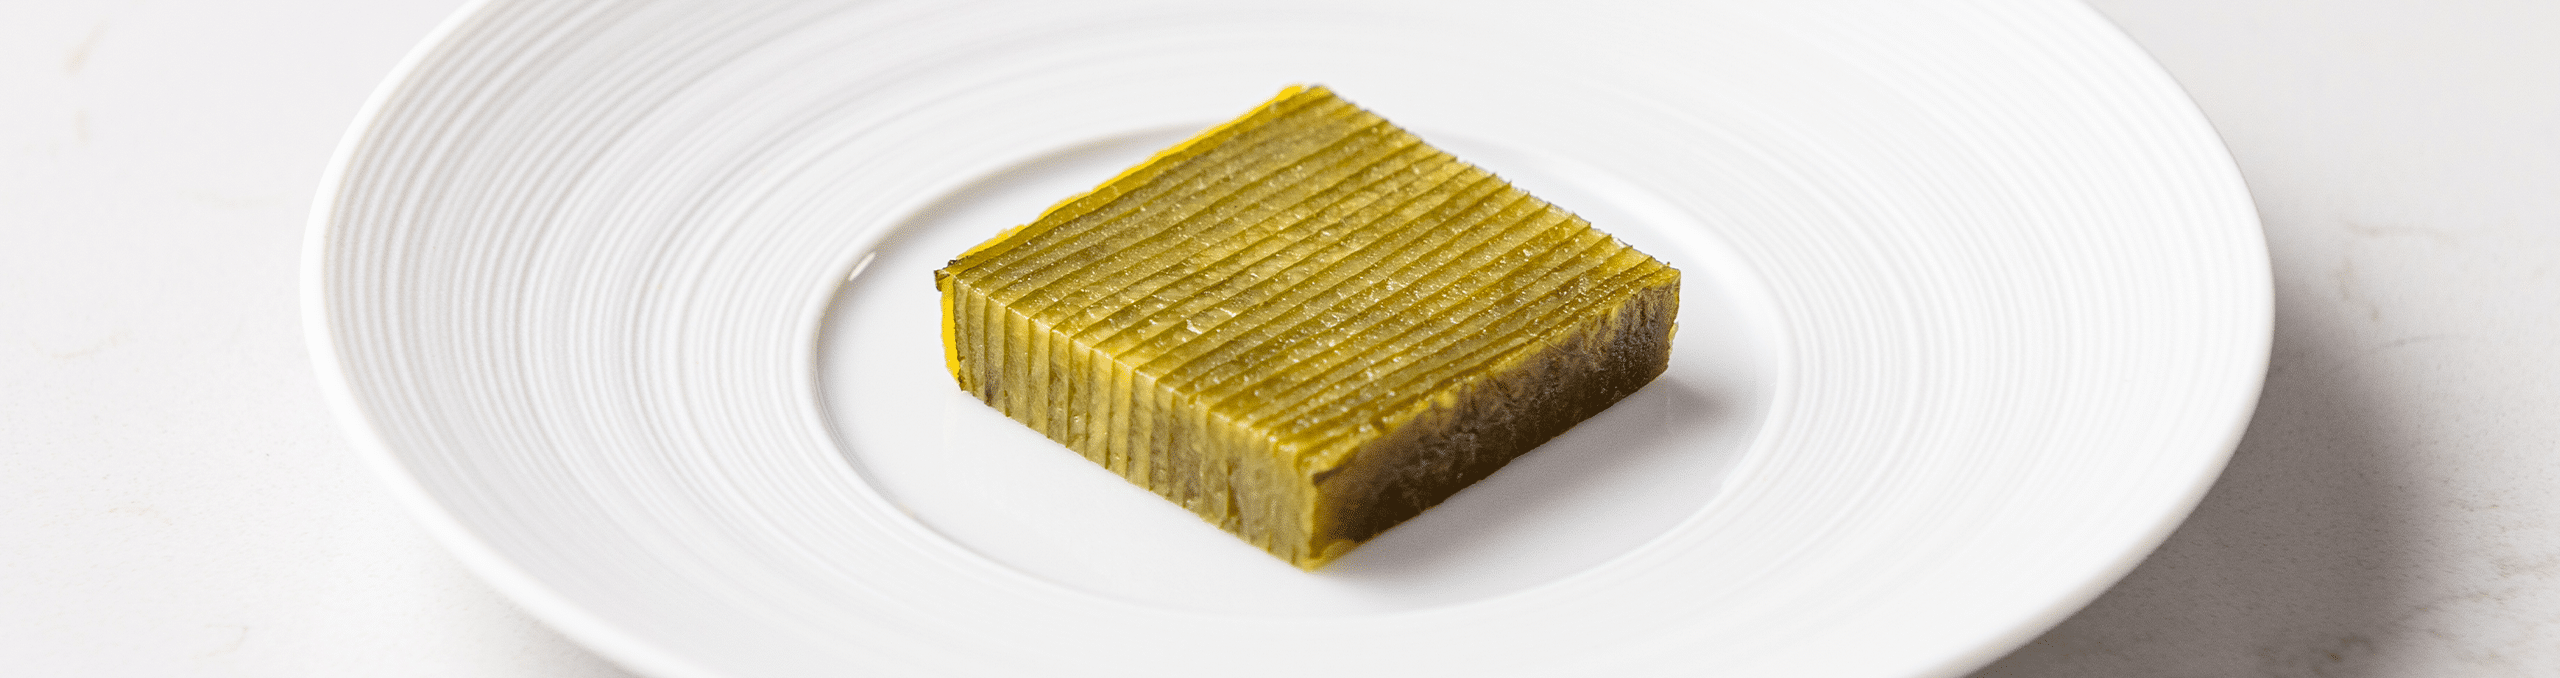
Now do the same with the nasturtium leaves. Just remove the stem and cut it slightly bigger than the squash. For every slice of squash you need a nasturtium leaf. While cutting the leaves you can also begin stacking them. Begin with a slice of butternut squash following a portioned leaf and so on. You can make the stack as high as you like, but mine had around 45 layers.
Now place some cooking twine on your cutting board and place the stack in the centre. Press the stack down and tie all the layers together as tight as possible. If needed trim the knots.
Then add a knot of butter to a preheated pan and start pan frying the stack all around. Also add some salt all around. Pan fry the stack on a medium heat to prevent the butter from burning.
When it has a nice colour all around place it on a tray and check if the millefeuille is cooked all the way through. I do this with a thin cuisson needle. It needs to slide through, otherwise continue cooking it in the oven at 150 °C (302 °F).
After 15 minutes my millefeuille was cooked. Now place it on a tray and gently press it down with a pallet knife. Then cut the cooking twine and remove it. Let it cool down in your fridge for at least 1 hour. You need it to be set all the way to prevent the layers from separating.
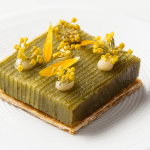
Once it has set trim the edges with a sharp knife and portion the millefeuille to the desired thickness. Again be very gentle! You don’t want to damage your hard work. Place them on a tray and keep them covered in your fridge for later.